Monday, February 10, 2014

Give the Man a Cookie

I think I've finally recovered from my recent foray into decorated sugar cookies. For the past few years I have attacked every holiday, birthday, family get together, grandson's school parties and assorted sporting events like a woman possessed. I have rolled and cut and outlined and flooded and sprinkled and piped and painted every shape and size of cookie. And when I finally got my beautiful bright red Kitchenaid mixer, Ruby, and discovered I could make 4 batches of sugar cookie dough at a time, I swear I heard angels sing. But then something odd happened. I wrapped up those little packets of dough and tucked them away in my freezer sometime in November and didn't get them back out until just this past weekend. I have determined I was suffering from CCCFS (chronic cutout cookie fatigue syndrome).

But something about Valentine's Day just screams decorated cookies to me. So, I drug out 2 of those little dough packets and my big basket of cutters, colors, bottles, bags and tips, luster dust and other assorted tools of the trade and went to work.

Two days later Pops was still waiting on the cookies and was completely dismayed that anyone could take 2 days to bring a cookie to fruition. Until I presented him with the finished product. I think he was actually mildly impressed. Right up to the time he and Darlin' Mark wanted to know if they could eat them yet and were told not until after the photography session. Then he was back to wondering how a cookie can take so long.

I've played around with a myriad of decorating techniques, tips, tricks and styles, frostings and glazes but the one constant has been the cookie recipe. It is spectacular in it's simplicity and is the best recipe I've ever found for holding shape and still tasting good. Because at the end of it all, a pretty cookie that tastes like school paste is not a cookie at all.

Sugar Cut Out Cookies  Dorie Greenspan Recipe
Makes approximately 2 dozen cookies depending on shapes and sizes

350 degrees, 8-11 minutes

Ingredients

10 Tbsp Unsalted Butter, softened
1 Cup Granulated Sugar
1 Large Egg
1 Large Egg Yolk
1 Tsp Vanilla Extract
2 Cups All Purpose Flour
1/2 Tsp Salt
1/2 Tsp Baking Powder

Rolling pin, 1/4 inch dowel rods, cookie cutters, baking sheets, parchment paper

Process

In medium mixing bowl whisk together flour, salt and baking powder
Using stand mixer or hand mixer cream butter and sugar until light and fluffy, approximately 6-8 minutes.
Add egg, egg  yolk, and vanilla extract, mix on medium speed until incorporated.
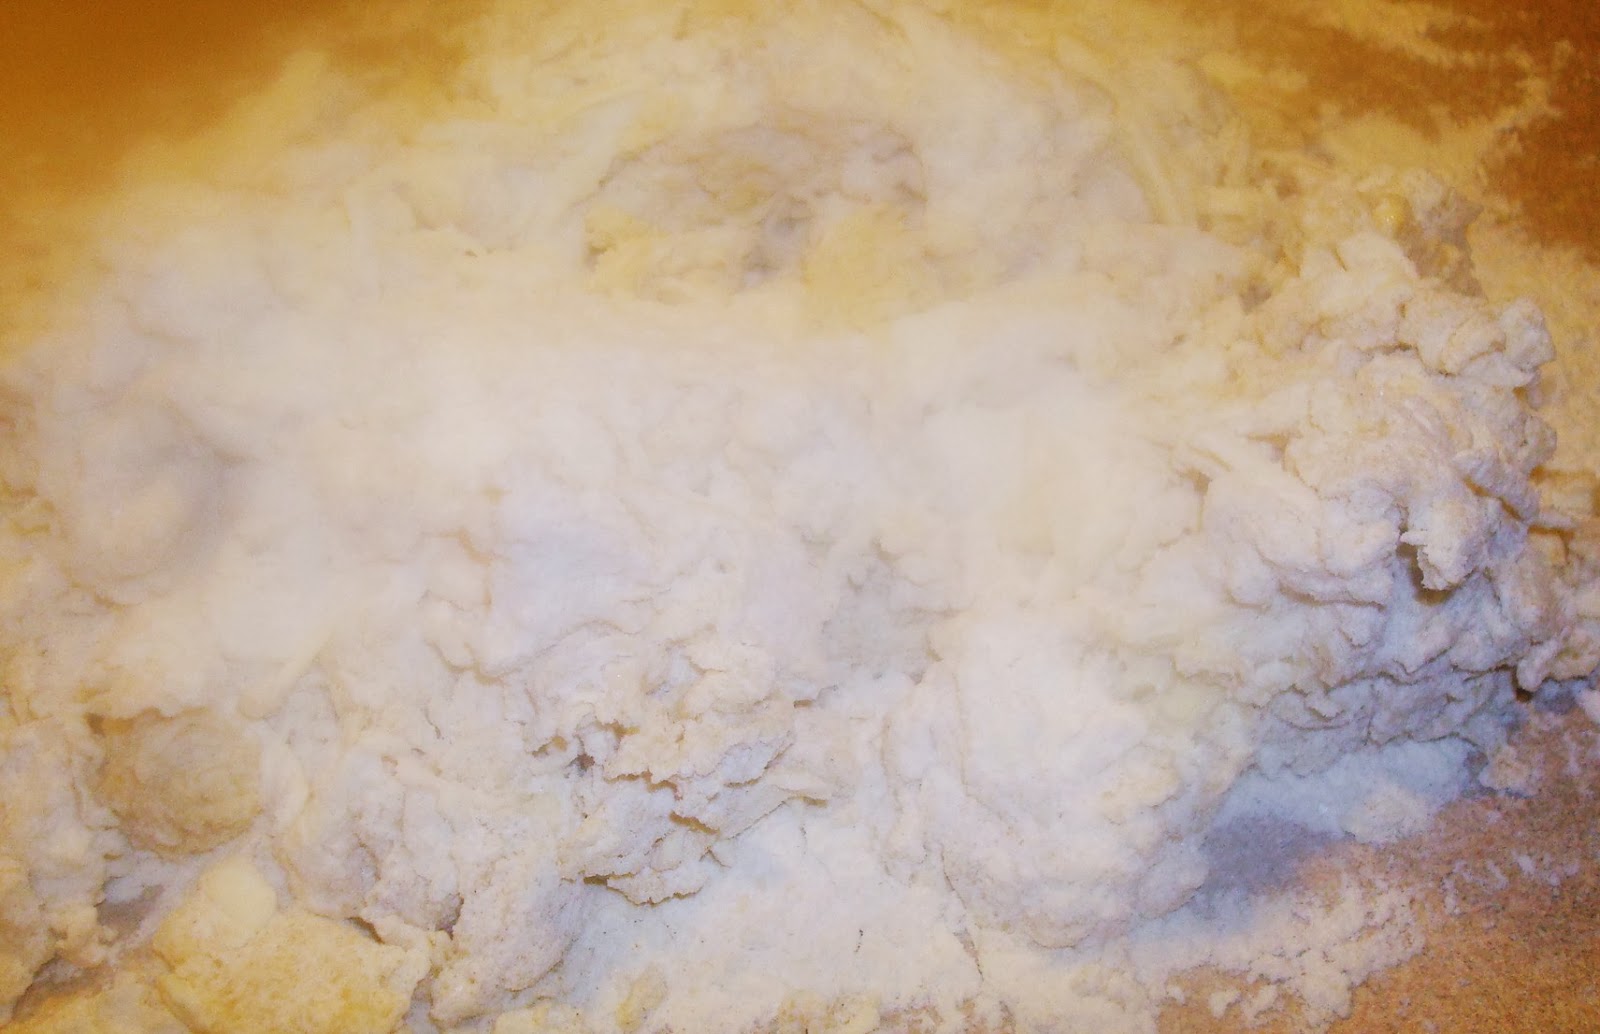
Turn mixer down to low and add flour mixture 1/2 cup at a time until just mixed.
Divide dough in half and pat into discs, wrap in plastic wrap and refrigerate at least 2 hours or up to 1 week. Can also place wrapped discs in freezer bags and store frozen for 6 months. Thaw overnight in refrigerator before rolling and baking.

When ready to bake cookies, take dough out of refrigerator.  Preheat oven to 350 degrees and line baking sheets with parchment paper.
Unwrap one disc at a time.
Lightly flour surface. I've tried powdered sugar but find that flour works much better and if used sparingly doesn't affect the taste or texture of the cookies.


Lightly flour rolling pin and begin to roll dough into circle, rectangle or if you're like me something resembling an ameoba. 
After a few passes with the rolling pin, place your dowel rods on each side of the dough and continue to roll the dough with ends of the rolling pin rolling over the rods. This will help ensure your dough is rolled to an even level and 1/4 inch is just right for a not too thick, not too thin cut out cookie.
Ameoba

Arrange cookie cutters over dough leaving as little space as possible between cutters. 
Push cutters straight down through dough.
Leaving the cutters in place, pull the excess dough away from the cutters. 

Lift the cookie cutters and use a thin metal spatula or bench scraper to move cookies to parchment lined cookie sheets. Leave about 1 inch space between cookies for baking.


Gather scraps and roll, cut again using as much dough as possible.
Place cookies in freezer to chill for 10 minutes before baking.
Bake on middle rack of oven for 8-11 minutes. Rotate baking sheet 180 degrees halfway through baking.
Do not over bake cookies. Should be dry on edges, slightly shiny on top, just starting to turn a golden brown on bottom.
Cookies are slightly puffy, moist on top. Will flatten to 1/4 inch thickness and set firm on cooling.

Cool completely on rack. 
Make me pretty!

Can decorate after cooling or store in airtight container and decorate later. 
Cookies will keep in airtight container for 1 week.

Go out and browse some sites for decorating tips, techniques and styles. I will be posting some of my personal favorites here in the future. Have fun, experiment and remember the mistakes taste just as good as the successes!

Now get rollin'!


Saturday, February 8, 2014

Pancakes for Pops

It's Saturday morning, February 8th, 2014 and it's snowing. Again. And the weather forecast seems to think it may continue to snow every day from now until somewhere near the end of time. And as I have taken a solemn oath to not leave my house until the ground is green and I can step outside the door wearing less than three layers of clothing, I plan to just spend the weekend up to my elbows in flour, dough, frosting, chocolate and butter.

Saturday morning around here is also Sourdough Baby feeding day. That means I bring the little chilled yeasties out of the fridge and feed the quadruplets all at the same time. This consequently results in an abundance of discarded starter. And even though I have gallons of the stuff everywhere, I just can't bring myself to pitch a couple cups of it all at once.

As I stand in the kitchen staring at the starter my gaze wanders to the living room where Darlin' Mark and my Pops, Jim Jones, are staring at some sort of  "Man Stuff" on the TV. Realizing they will eventually require feeding as well this Saturday morning, sourdough pancakes it is! My one fatal error was asking Pops whether he preferred sausage or bacon with his pancakes. Which led to his "go to" response to most questions these days, "whatever." Like having an 87 year old teenager in the house. This response then led Darlin' Mark to attempt to extract a more defined answer from Pops as well. After approximately 10 minutes of "whatevers" and "I don't really cares," Darlin' Mark threw in the towel and headed to the kitchen to fry bacon.

I can't help you with any domestic disputes regarding types of breakfast meats or beverages or any other related tops that may arise in your own homes, but I can provide you with the recipe for some very yummy sourdough pancakes below. Get out the griddle and go!

Big, fat, fluffy sourdough pancakes!


Ingredients

Makes approximately 12 large or 15 medium pancakes

2 Cups Sourdough Starter (can use discard from feedings, does not have to be recently fed.)
1 Cup Milk
3 Large Eggs
1/4 Cup Melted Butter
1 Tsp Vanilla Extract
1 3/4 Cups All Purpose Flour
1/4 Cup granulated Sugar
1 Tsp Baking Soda
2 Tsp Baking Powder
1 Pinch Salt

In medium mixing bowl whisk together starter, milk, eggs, butter and vanilla
In small mixing bowl whisk together flour, sugar, soda, powder and salt
Add dry ingredients to wet and whisk until well combined, may have a few lumps, this is ok

Heat griddle or non-stick skillet over medium heat, lightly oil or use cooking spray.
Drop approximately 1/3 cup batter onto hot griddle or skillet, cook on one side until edges just start to set and a few bubbles appear in center of pancake, flip and cook about 1-2 more minutes until cooked through.

Serve with butter, warm syrup or fruit toppings, powdered sugar. Whatever gets your motor running. 

Enjoy!

Leftovers can be frozen and heated in microwave or toaster.

Now, dear readers, I must leave you to return to the kitchen. I have baguettes in the works and need to stir up frosting to get those Valentine cookies all prettied up today.


Monday, February 3, 2014

Sourdough Babies

Every winter, somewhere around late January to early February, I begin to understand why pioneer women on the prairie went bonkers and began to consider ways to break the monotony of countless cold, snowy, dark days stuck in the log cabin, Unfortunately, this sometimes led to the demise of their entire family in a variety of rather unpleasant methods. After looking around my house and considering the options, I opted for becoming obsessed with sourdough starter and breads. My family appreciates my decision.

While working on my planned upcoming post, Bobby and Baguettes, I realized it would probably be helpful to get some of you prepared by providing a little insight into my recent success raising healthy, happy Sourdough Babies, as you too will need some of your own if you want to craft some bread.

After numerous failed attempts while still living in Louisville, I began to despair that I was just not meant to ever have my own little house of wild yeasties to love and care for. I set the idea aside and went on with my life. But this January, one of the coldest in some time here in scenic southern Indiana, and with Darlin' Mark off in Idaho waging the Potato Crusades, I started to dream again of all the happiness Sourdough Babies could bring me.

So I got out the jar, measured out some water and organic whole wheat flour and stirred it up, covered it and put it in my oven and turned on the light as a beacon for all the the yeasties to come and feast. Twelve hours later I was not hopeful, but decided to feed the little sucker anyway. The next morning, I thoroughly expected to open the oven only to find a dead glob of water and flour, but eureka! Success! It was bubbling and frothing and had doubled it's size overnight.

I spent the next 2 weeks feeding and tending and keeping it warm. I would talk to it, tell it how pretty it was and how proud I was that it was growing so big and strong (I told you it's been a long winter). And how has it rewarded me? It's taken over my life. It's on my counter tops, it's in my refrigerator. I've turned it into chocolate cake, waffles, pancakes, breads, rolls. I've dumped buckets of it down the drain. Although I'm starting to grow concerned that this may lead to it settling into the septic field and mutating into some sort of giant fungal monster that slowly oozes towards the house and envelopes it one night, trapping me in my own sourdough starter tomb. Maybe a little dramatic, but it has caused me to start throwing most of it in the trash, rather than down the disposal. I have started feeding it once a day rather than twice hoping it will slow down, develop belly fat, lose it's sex drive and feel tired and annoyed all the time. Oh, wait, that's Low T. Anyway, none of that has happened. It's still growing.

I'm sure after hearing this, you just can't wait to start your own little family of ravenous wild yeasties. Just keep in mind that while it initially requires some extra time and attention, it will become much more independent and self sufficient over time. If you plan to bake infrequently, it can be housed in the fridge which will lull the little yeasties into a state of suspended animation. You can usually feed once a week and the starter will be just fine.

So if you've read this and still would like to have a go, I'll share my very unscientific but wildly successful formula for doing so. Remember it's also perfectly acceptable to purchase one. King Arthur Flours has a starter available for purchase. The link for KAF is in My Happy Places. You can also obtain a free starter from Carl's Friends http://carlsfriends.net/.

I highly recommend purchasing a kitchen scale if you plan to make and obtain a starter. Also if you are planning to experiment and produce breads on a regular basis, most artisan recipes and processes will be provided in weights. I purchased a Farberware electronic kitchen scale which measures both dry and liquid, metric and standard measures, and has a room temp thermometer for approximately $40. There are many options in all price ranges available.

Yeasties Gone Wild!


Sourdough Starter Ingredients and Process

Water
Whole Wheat Flour (organic or unbleached)
Kitchen Scale
2 Cup Container (preferably glass or plastic, wide mouth and straight sides make it easier to mix and keep container sides clean)
Plastic wrap

I made and maintain my starter based on a 100% ratio. Basically this means I use an equal amount of water and flour (by weight) to start and for each feeding. It also means that as the starter is growing or being maintained that you feed it an amount equal to the amount you use or discard. There are many and varied opinions and directions for starters. So no one way is right. Play around with it as you gain more experience and decide what method works for you in your schedule and baking needs. 

I used regular tap water. Some people recommend using spring water or letting tap water sit at room temperature for 24 hours to allow any chlorine to dissipate when the starter is young to reduce risk of killing off the yeast as they are growing. 

Measure 50 ml of water (approximately 1/4 cup) into the container, add 50 gm of whole wheat flour (approximately 1/2 cup) and mix well. Cover loosely with plastic wrap and sit at room temperature for 12 hours. If your house is kept fairly cool, like mine, then sit the container in your oven with the light on. 

At the end of 12 hours you may start to see some signs of life, few bubbles, some condensation on the plastic wrap, it may have puffed up a little. Go ahead and feed it again, using the same amounts above. Add water first, then flour to mix until fairly smooth. Cover and sit for another 12 hours. 

At this time, if you see obvious bubbles, some foaming, then feed again. If you don't see any signs, give it another 12 hours and check again. If it looks active at that time, feed again with the same amounts of water and flour as above.

Feed again without discarding in 12 hours. After this, if the starter is consistently showing lots of bubbles and growing close to double in size every 12 hours, you will want to start to discard before feeding. This means you will remove approximately half the total amount of starter in the container before adding the 50/50 water/flour feeding. 

You want to continue to feed every 12 hours for the first 2 weeks, keeping the starter at room temp and loosely covered with plastic wrap. After the first week, if the starter is doubling in size every 12 hours or less, you can begin to transition the starter to all purpose flour if you want. I am currently maintaining mine with a 4:1 all purpose to whole wheat ratio using 40 gm of all  purpose and 10 gm of whole wheat with each feeding. 

After you have a healthy, thriving starter for a couple weeks, you can decide to refrigerate if you plan to bake less then a couple times a week. Once refrigerated you will need to discard and feed weekly. If you feel bad discarding starter all the time, keep in mind you can use discard for things like pancakes, waffles, cakes and other recipes that don't require the starter to be "fed" prior to using. 

If you don't succeed with your first attempts, try again. And as I said, this is simply the method that seemed to work for me. Remember that a starter is simply a way of wrangling the wild yeasts that are native to your environment. This means it's unique to you and your home and will give your breads and other goodies an individual taste and tang.

If my method doesn't bring  you success, there are many more ideas to be found following the links in My Happy Places. Check out The Fresh Loaf and Sourdough Home for ideas from other bakers around the world.

Now get started!


Saturday, February 1, 2014

The Prodigal Scones


Well it's the Saturday before Super Bowl XLVWXYZ, or something like that. I was never any good with Roman numerals. I think we're up to SB 48. Anyway, back to the Saturday part. It's Saturday and in just a few hours my very, very quiet home will be overrun with almost all the men in my life.

Darlin' Mark and our son, Corey, are driving back home from Boise Idaho as I write this. They've been out there involved in some clandestine potato operation of sorts. They are on a mission to get here in time for the above stated football game. And my dad, Jim Jones (that's his real name), is coming to visit while Big Sis Marybeth runs off to the shores of Alabama for a month. And if our son, Sam, can catch a break from his duties as student manager with the National Championship University of Louisville Men's basketball team, he might even put in an appearance. If his mama doesn't strangle him between now and then, grandson Cohen should find his way here as well. Plus it's a safe wager that some various strays from the neighborhood will find their way through the door.

This influx of men will bring the usual noise, mess and smells that accompany many of them, but it will also bring the need for food, and lots of it. Especially if Sam shows up. So, I've decided to get this parade of food underway. And where better to start than with breakfast. Which leads us to the scone portion of this story. Granted scones may not sound like "man food" and you're partially right. They will undoubtedly need to be accompanied by various fried meats, eggs, potatoes and all that good stuff. But they'll nibble on these little babies too if that's all that stands between them and starvation.

In my previous post, I referred to the fabulous recipe find for scones provided by Big Sis Marybeth. Today's post is adapted from the Blueberry Scones recipe in her "Cook's Illustrated Baking Book." It's delicious in the original version, but I'm never satisfied to just stick with the original. And besides, I didn't have any blueberries when I decided to make it and had to improvise... again. That is also a common theme with me.

Forget everything you thought you knew about scones. I know I had eaten more than my fair share of dry, crumbly, rather bland and tasteless scones. These are moist, flaky but still sturdy enough to hold any jams or jellies, if you wish. And my personal favorite is that you can freeze these and bake them one at a time for a special "breakfast for one" treat. Which means when I have surly, hungry men wandering through the house I can pop these babies in the oven and buy some time while I'm cranking out the biscuits and gravy.

Now without further procrastination, on to the scones. Once again, I find myself without blueberries, so I've settled on cherry/orange.

Ingredients

8 Tbsp unsalted butter, frozen and grated
1/2 C Milk (2% or whole)
1/2 C Sour cream or plain Greek yogurt
1 tsp orange extract
1 Tbsp Finely grated orange zest
2 C All purpose flour
2 tsp Baking powder
1/4 tsp soda
1/2 tsp salt
1/4 tsp cardamom
2 Tbsp unsalted butter, melted
1/2 C plus 2 Tbsp granulated sugar
1/2 to 3/4 C fresh or frozen pie cherries
1/4 C Triple Sec (or orange juice)

Warning: Do not be alarmed, you are not losing your vision. During the "flour" portion of the show, there was obviously an issue with my lens. I am well known for covering everything in flour and apparently my camera is no exception.

In small saucepan combine cherries and triple sec or orange juice and warm over low heat for 10-15 minutes. Drain excess liquid and place in refrigerator until ready to use.
                               
Mix milk, sour cream or yogurt, orange extract and orange zest in a small bowl and place in refrigerator until ready to us.


Using the large size of a box grater, a food processor or a mandolin, grate 8 Tbsp of frozen butter. If using box grater, use 2 sticks of butter, remove wrapper from half of each stick and grate 4 Tbsp from each to avoid adding little bits of finger to your scones. Place butter on plate or small baking pan and place in freezer while preparing dry ingredients.


Mix flour, sugar, baking powder, soda, salt and cardamom and whisk to combine

Add frozen grated butter to dry ingredients.
Toss butter lightly by hand until just all little bits are coated with flour.


Note: We are now entering the floured lens portion of the program. My apologies. You can see that the dough is very crumbly, dry and doesn't come together at all at this time.
Knead quickly and lightly 5-6 turns until able to form dough into about a 4 x 4 inch square. Should still see all the individual bits of butter.


Roll dough into 12 x 12 inch square


Fold side nearest you up and over like a business letter.


Fold both short ends toward the center until you have a 4 x 4 inch square again. Place dough package onto well floured plate or small baking pan and place back in freezer for 5 minutes. If you are like me and have a tendency to wander off and get distracted by bright, shiny objects, set the timer.


Take dough back out of freezer and roll into a 12 x 12 inch square again. Roughly chop your drunken cherries and scatter over dough, lightly press into dough.
Starting at side away from you, roll the dough towards you into a log.

All rolled up and ready to squish.

With your hand gently press rolled up dough into a 12 x 4 rectangle.

All squished up and ready to cut.

With sharp, floured knife or bench scraper, cut into half and then fourths.

Cut each 4 inch square into triangles.

If baking at this point, preheat oven to 425 degrees. Brush tops of scones with melted butter and sprinkle with raw sugar. Bake on parchment paper on baking sheet for 12-15 minutes or until golden brown.

If freezing scones for later, place on parchment paper on baking sheet, place in freezer until solid. Place in plastic freezer bag and seal. Label with type of scone and date made. Can freeze up to 6 months. When ready to bake, preheat oven to 350 degrees, brush scones with melted butter and sprinkle with sugar, bake on parchment lined baking sheet for 25-30 minutes, until golden brown.


Well, Darlin' Mark has alerted me via text message that they will soon be pulling down the gravel road and into the drive, dragging his toys behind him. Biscuits in oven and stew on the stove. Off to rest until time to crank up the Super Bowl festivities.

Bake on!


Monday, January 27, 2014

Maybe I Should Leave the House

I'm sitting here trying to remember the last time I left the house. I believe it was last Wednesday when I made a trip to the Post Office and the local organic food store, Grounded, in Jasper IN. Had to pick up yet more flour: rye, spelt and all purpose. Don't know what spelt is? I don't either, but I like the name and see lots of recipes for it in various bread forums. I'm sure I'll find something to throw it into.

Why have I been holed up in the house? Well any of you in the mid-west this January know exactly why. It's just stupid cold out there. I personally don't like the temp to drop below 65. So I can assure you, I definitely do not appreciate 65 below. And that's just barely an exaggeration.

But in an attempt to stay warm, occupied and as sane as I am capable of being, I spent the weekend with the oven running overtime. It cranked out scones that had been mixed up and frozen a few weeks ago. A great recipe find by my big sis, Marybeth Miller. And yes, she only has 2 names. Dad says they were too poor when she was born to afford a middle name.

There was also a San Francisco type sourdough bread which took 2 days from start to finish, and despite numerous attempts on my part to screw it up by fermenting too long or proofing too short or baking at the wrong temperature, came out quite lovely and tasty. I'll share that story another day.

And no surprise to any of you who know me well, there was something chocolate. There's almost always something chocolate. And amazingly enough, the something chocolate also allowed me to use up a cup of the sourdough starter that is slowly taking over my house.

"I don't have sourdough starter." you say. Well, if anyone is in need of or desires sourdough starter and would like to make the scenic trip to the house in the holler at the end of the gravel road in Birdseye IN, then bring an empty jar and come on down. I can hook you up.

You can also look into purchasing a starter from places like King Arthur Flour or Sourdough Home. You can find these links under My Happy Places.

Back to that something chocolate. A sourdough chocolate cake with espresso icing and chocolate drizzle. Chocolate drizzle....just rolls off your tongue, doesn't it?

sigh

The Cast of Characters + That cup of sourdough starter that crept off to some seedy location to reproduce yet more wild yeasties
I didn't stray much from the recipe I found at http://www.kingarthurflour.com/recipes/sourdough-chocolate-cake-recipe It gives you the option for buttermilk or plain yogurt. I used honey yogurt and it worked fine. It wasn't any kind of culinary epiphany that led to that. For some reason there was a run on yogurt at the grocery. Just scads of people milling around and in order to avert an ugly public scene, I quickly grabbed what I thought was plain greek yogurt. I think I would reduce the amount of espresso powder in the icing next time. And if you're not a fan of coffee, you probably want to skip that part of the recipe altogether.

I can attest it is an excellent choice for breakfast cake, which I believe should be designated an official breakfast food. It works nicely for lunch, too. And at midnight when you're sitting up listening to the wind blow 50 mph outside your door. And for that matter, after a tough round of blogging.

Bake on!


Sunday, January 26, 2014

If you're reading this it most likely means one of two things. Either you are a family member or friend that I have nagged, whined or bullied into following this exercise in narcissism or you share my sometimes unhealthy obsession with baking. Either way, welcome! 

My first memories of baking are being in the kitchen with Granny Mac and the brown crock she used to stir up countless batches of bread, cookies, cakes and whatever else I might be able to whine her into. (You might notice a theme with this nagging and whining thing. I was very accomplished at this as a child. A byproduct of  being the baby of the family.) 

Those of you who know me, know that I don't normally collect or hang on to things. But that brown crock is a different story. It holds a place of prominence in my kitchen and my heart. I still use it in almost all my baking ventures. That brown crock isn't just a bowl to hold dough and batter. It's learning what bread dough should "feel" like. It's Granny telling my sister, Marybeth, and me that we'd get worms from eating raw cookie dough. It's late night brownies and cookies, music and boys with high school girlfriends. It's my children's birthdays. It's family, friends and memories.

I bake for lots of reasons. I get bored, I bake. I get lonely, I bake. I get stressed, I bake. I get mad, I bake. Sometimes I even bake to feed people. Whatever the reason, I always feel better when I bake. 

I invite you to join me in my baking adventures, good and bad, and hopefully make some memories of your own along the way. 

Lori